Friday 28 November 2014

November weekly workout challenge

Hey loves,
I have been really into working out and it can get very boring and difficult doing the same things over and over again. I thought that I would put you out of your misery by doing a November weekly workout challenge. You could do this for every week of November if you wish or you could just do it for a week.
Keep in mind you can change these up and rearrange the days as much as you want. I challenge you to do the November weekly challenge and everyday you do it comment the day of the week you did it!


Monday: 
run for at least 15 minutes,
Do as many push-ups as you can,
Plank for 1 miunte on each side,
Do 50 jumping jacks,
2 minute high knees,
20 sqauts.

Tuesday:
30 squats, 
50 burpees,
70 jumping jacks,
Do as many sit-ups as you can,
Jog for 20 minutes.

Wednesday:
Do 10-20 minutes of cardio,
40 crunches,
50 lunges,
4 minute high knees.

Thursday:
Plank for 1 minute on each side,
25 wall sits,
50 sqats,
50 crunches,
As many push ups as you can do.

Friday:
20 minute cardio,
45 second superman,
60 squats,
60 lunges,
Run for 20 minutes.

Saturday:
30 minutes cardio,
1 minute arm circles, (per arm)
60 calve raises,
5 minute high knees,
Run for 15 minutes.

Sunday:
50 sit-ups,
1 minute plank both side,
100 jumping jacks,
30 minutes cardio,
50 lunges.
Erin xoxo

Friday 21 November 2014

Fall Hairstyles

Hello loves,
I love fall, it is deffinatly myfavourtie season. You see all of the leaves on the floor and the icy cold nights. Listening to the rain, warming up by the fire whilst drinking hot coco. To me fall is the perfect season and also it is getting prepared for christmas! I still havent done any christmas shopping, I always leave it to last minute which is bad of me. These hairstyles are all very easy to do, the most difficult one is probarly the french braid one. Which one is your favorite?


Hairstyle 1- Fishtail braid: 
1. Divide your hair into two large sections, straight down the middle.
2. Pull a thin strand of hair from the outside of the left section. Pull it over the top of the left section, and grasp it under the right section.
3. Repeat on the other side.
4. Keep alternating sides until you reach the bottom of the braid.
5. Tie with an elastic and your done.

Hairstyle 2- Loose curls in pony:
1. Curl your hair, take a small or medium sized piece of your hair and wrap around a curling tong for a few seconds, 10 to 20 should be plenty depending on the thickness and length of your hair.
2. Spray all of your hair with hairspray so that the curls stay in for longer.
3. Once all of your hair is curled put it up into a loose ponytail and then your done.

Hairstyle 3- Halo:
1. (This step is optional) curl your hair but only keep the sections that you are using on for around 5-10 seconds because we want a wave look.
2. Put a headband in your hair and start to wrap parts of your hair into the headband this will make you look like you are wearing a hair halo.
3. Finish of with some hairspray to keep your hair in the halo and your done.

Hairstyle 4- French braid:
1. Start by taking a section from the top of the head. Separate this section into 3 strands crossing right over middle and then left over middle.
2. Switch all of the strands over to your left hand and keep strands separated.
3. You can now gather a small even section from the right side of the head with your right hand and add it to the right strand.
4. Bring the strand you have just added to, over to the middle and bring the middle strand to the right. Keep all the strands separate.
5. You will now bring the left strand over to the middle and bring the middle section to the left. As you follow these steps, try to keep your hands close to the head so the braid will be tight.
6. Carry on until you reach the bottom of the braid, do the same to the other side and then tie with an elastic, then your done.

Erin xoxo

Tuesday 18 November 2014

DIY Face Masks

Hey loves,
Recently I have been breaking out in spots and it is really annoying. I try to cover it up with makeup but it makes it 10x worse so I needed to come up with a compromise very quick. I had tried many different face masks and sometimes they make it worse and make my skin red and blotchy. Instead I decided that I would make my own face masks so it is more friendly to my face and it worked!


Banana face mask-
Mash up a medium-sized ripe banana into a smooth paste, then gently apply it to your face and neck. Let it set for 10 to 20 minutes, then rinse it off with cold water.

Milk face mask-
Make a mask by mixing 1/4 cup powdered milk with enough water to form a thick paste. Thoroughly coat your face with the mixture, let dry completely, then rinse with warm water. Your face will feel fresh and rejuvenated.

Oatmeal face mask-
Combine 1/2 cup hot not boiling water and 1/3 cup oatmeal. After the water and oatmeal have settled for two or three minutes, mix in 2 tablespoons plain yogurt, 2 tablespoons honey, and 1 small egg white. Apply a thin layer of the mask to your face, and let it sit for 10 to 15 minutes. Then rinse with warm water.

Mayonnaise face mask-
Gently spread the mayonnaise over your face and leave it on for about 20 minutes. Then wipe it off and rinse with cool water. Your face will feel clean and smooth.

Yoghourt face mask-
Slather some plain yogurt on your face and let it sit for about 20 minutes.

Erin xoxo

Tuesday 11 November 2014

Fall bucketlist

Hello loves,
Fall is my favorite season and to celebrate that I thought that I would share with you my fall bucket-list. I might of got a little to excited when writing this because I put a lot down. I love everything about fall and if you can relate to me then I would read what I have put below. What is on your fall bucket-list?


Jump in a pile of leaves, carve a pumpkin, watch a scary movie, go walking in the leaves, ride some bikes with friend, have a bonfire, collect & press leaves, tell ghost stories, buy fall candles, spend a day outdoors, go trick-or-treating, watch the stars, cuddle outside in blankets, eat candy, listen to the rain, put your hands next to the fire, cook a roast, eat Carmel apples, drink hot coco, wear layers of jumpers, have fairy lights on, dark lips, warm baths, Christmas shopping, wearing warm fuzzy socks, boots, over sized coats, staying in your pj's all day, watch fireworks, read a book under a tree, collect conkers, snuggle up watching a film, visit family and friends.

Erin xoxo

Saturday 8 November 2014

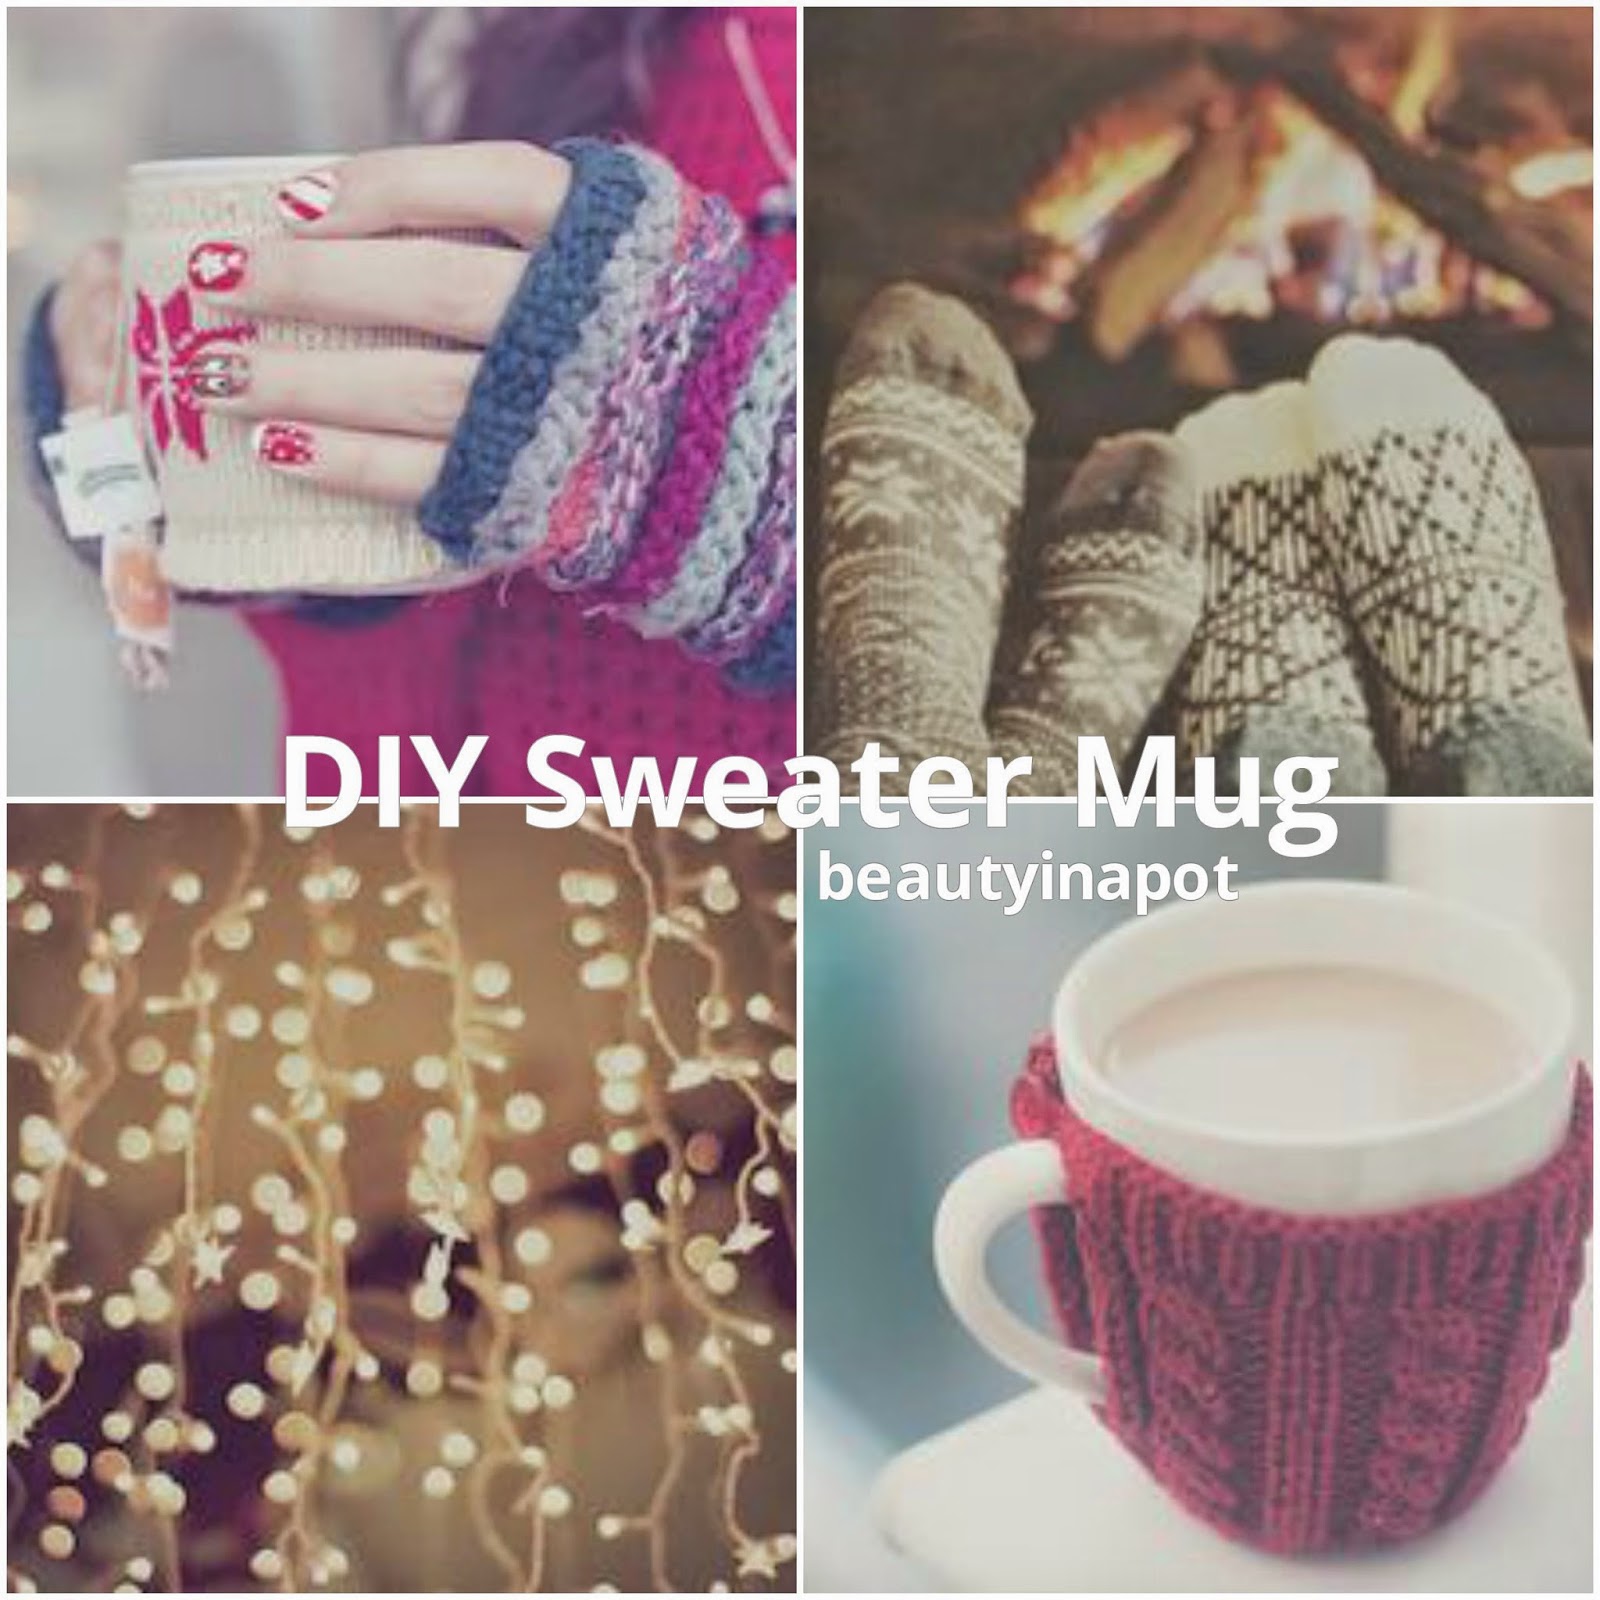
Cozy DIY Mug Sweater

Hey loves,
This is a very easy DIY and it will only take you around 5 minutes maybe even shorter time than that. I think this is a nice thing to do for the winter time to add a different look to your cup and also it looks very photogenic which if you have an instagram you could snap a photo of. It only takes 3 very easy, simple and short steps to do.


Step 1: measure your mug, or just look at how long you want the sweater to be!
Step two: cut it the length you want; plus cut around the handle of the mug; so you can hold it nicely.
Step three: slip it onto your fav mug and enjoy!

Erin xoxo

Monday 3 November 2014

Naked Nudes Review and Makeup Tutorial

Hello my loves,
I have been loving nudes on my eyes this autumn I think it is very natural and it adds a little elgents. I recently picked this up and loved it. I knew as soon as I put my hands on it I had to have it. I thought that today I would do something a little different and do a review and a makeup tutorial just so you get a real inside on the product. It is something that I have never done before and I have seen many blog posts that do this and it is a lot more interesting and you see the real product for itself and you can learn more about it. My eyebrows weren't plucked when I did this makeup look but we can just ignore that, aha.

Review:
Firstly I would like to say W7 did great on the packaging, I break things very easy and this hasn't broke on me (yet) the colors last long on your eyes and are very easy to apply. The colors are very pigmented which is something that I like. They aren't loose eye shadows  but they do have a little bit of excess which can easily be taken of by a wipe. They are very easy to apply and throughout the day it doesn't smudge or crease which is something that I suffer with. I have very oily eyelids and my eye makeup comes of very easy, that is why people wear primer but with this eye shadow you could get away with wearing no primer which is great. Of course I still do because it just is part of my routine but you don't have to if you don't want.


Makeup Tutorial:

1. Firstly I applied the pale color in the middle and applied this all over the lid. This will work as a base and will make the browns more bright on the eyes. If you apply a pale color on your eyes before you add the other colors it will make your eyes look more bigger and brighter. (On the picture I have a lot of excess on my face and it looks very bad I do wipe it of but I snapped a picture before I did)


2. Next I apply the right brown color on the end and blend this into the outer V and blended it in. It will create a smokey look, not to harsh but wearable for the day. You cant really make out the brown because it is very light but when it all comes together you can really tell.


3. After that I apply the most darkest colour (which is nearly hitting pan) and blend that all over the crease this will give it a little smokey look and pull the look together. I also drag a little bit of the color under my eye to add effect and it makes the look more darker. Which gives it that extra bit of


4. Lastly I apply some eyeliner and apply a little bit of mascara and that is the finished look, personally I think this is a day look because it isnt to dark. You could add some more dark brown colours to make it a night look and that would be fine. I have been wearing this look a lot recently and it looks flawless. You will get a lot of compliments.


Erin xoxo